Learning to Tie Your First Fly: A Quick Start Guide
The art of fly tying stands as one of angling’s most rewarding pursuits – a perfect blend of craftsmanship, creativity, and connection to the natural world. For many fly fishers, the moment they first cast with a fly they’ve tied themselves marks a profound milestone in their fishing journey. While creating these intricate lures might seem intimidating at first glance, the basics are surprisingly accessible to beginners. This guide will walk you through your first steps into the world of fly tying, from gathering essential tools to completing your very first pattern. Whether you’re looking to save money on flies, customize patterns to match local hatches, or simply experience the satisfaction of catching fish on your own creations, this introduction will help you begin a craft that has captivated anglers for centuries.
Understanding the Basics of Fly Tying
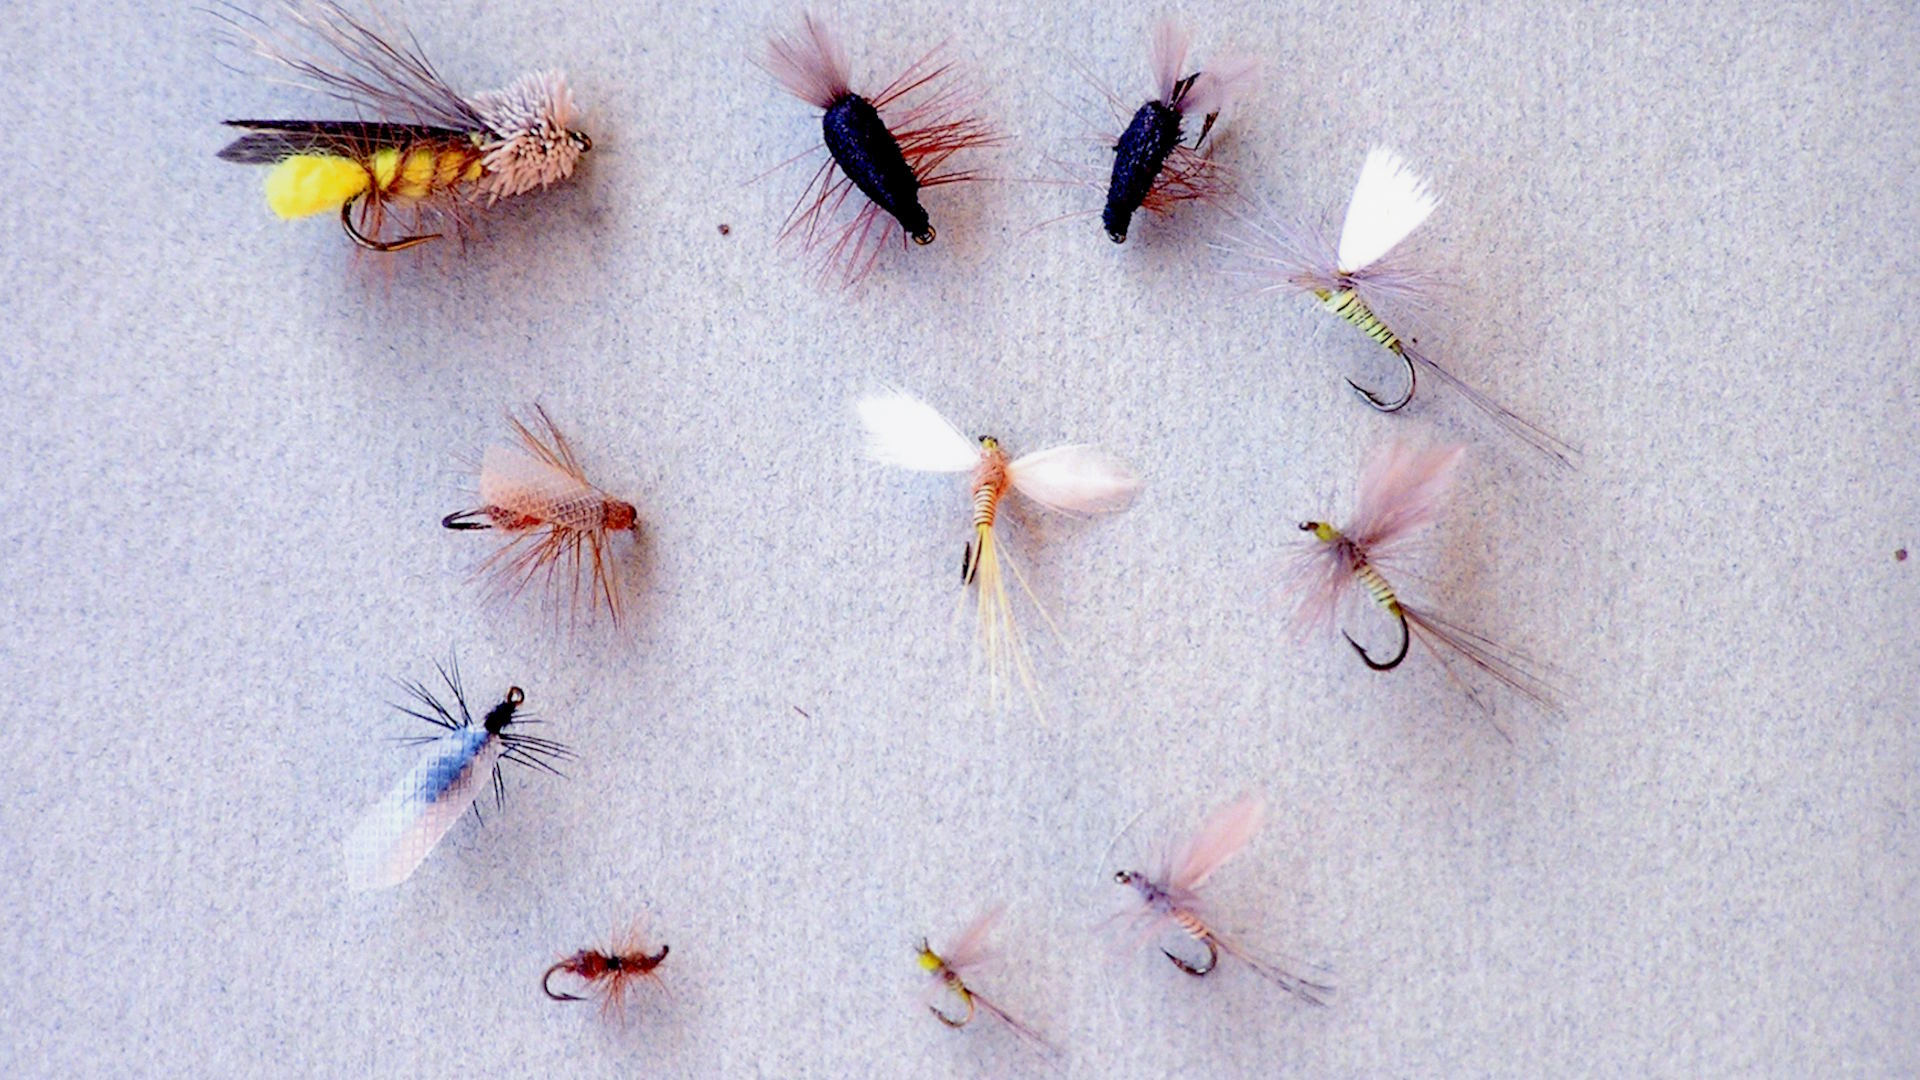
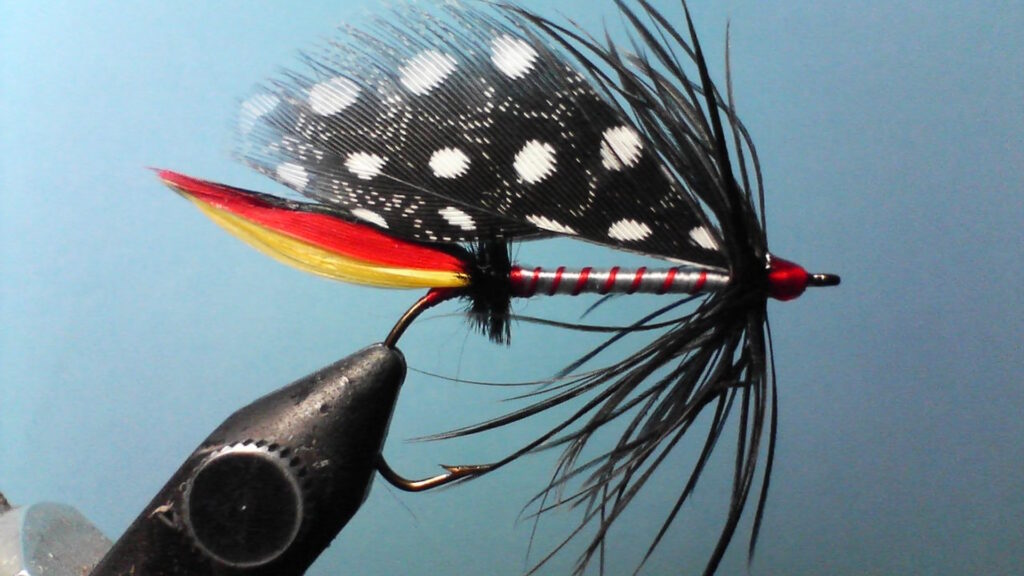
Fly tying is the process of creating artificial fishing flies used to catch fish, typically in fly fishing. Unlike conventional fishing lures, flies are constructed by binding various materials to a hook using thread, mimicking the insects, baitfish, or other prey that game fish feed upon. The materials used can range from natural elements like feathers, fur, and hair to synthetic materials like foam, yarn, and plastic. At its core, fly tying follows basic principles of securing materials to a hook in a specific sequence to create patterns that imitate either aquatic insects at various life stages, terrestrial insects that fall into water, or small prey animals like minnows and crayfish. Understanding these fundamentals before diving into your first pattern will help demystify what might otherwise seem like a complex process.
Essential Tools for the Beginner

Starting your fly tying journey requires a modest investment in some basic tools that will form the foundation of your tying setup. A fly tying vise is the most crucial piece of equipment, holding the hook securely while you work. For beginners, a simple C-clamp vise provides adequate functionality without breaking the bank. Quality scissors are another essential – you’ll need a pair of fine-tipped scissors for delicate work and possibly a sturdier pair for heavier materials. Bobbins hold your thread spools and help maintain tension while wrapping, while hackle pliers grip small feathers that would be difficult to handle with fingers alone. Other useful tools include a bodkin (essentially a needle with a handle) for applying head cement or adjusting materials, and a whip finisher for creating the final knots that secure your fly. Many manufacturers offer starter kits containing these essentials, which can be a cost-effective way to begin.
Selecting Your First Materials
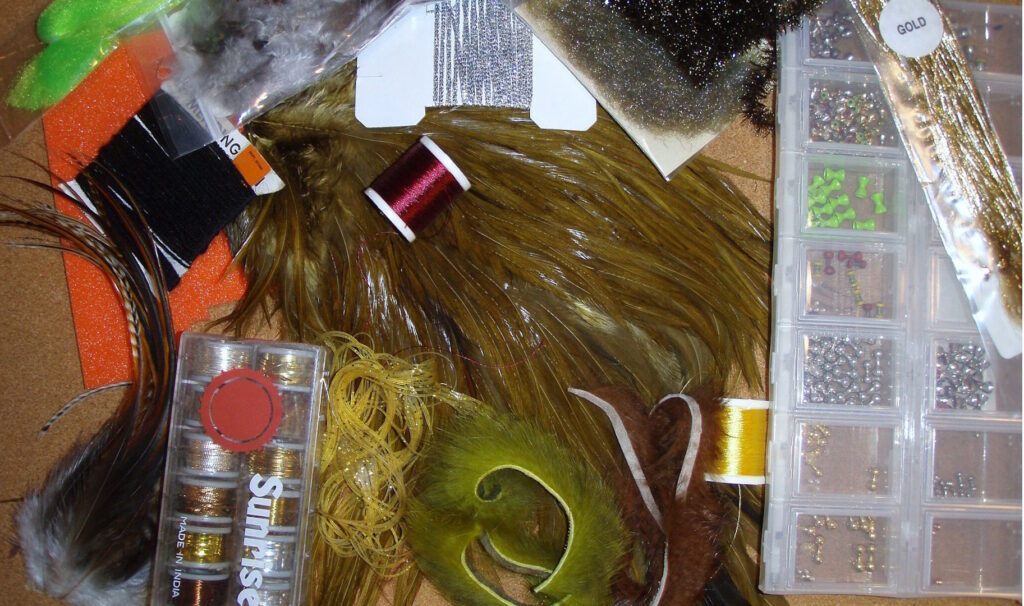
When gathering materials for your initial fly tying efforts, resist the temptation to buy everything in sight – focus instead on what you’ll need for one or two basic patterns. For many beginners, a simple Woolly Bugger or San Juan Worm provides an excellent starting point. For these basic patterns, you’ll need appropriate hooks (typically sizes 8-12 for a Woolly Bugger), thread (6/0 black or olive is versatile), and pattern-specific materials like chenille, marabou feathers, and perhaps some hackle. Consider investing in a basic dubbing assortment, which provides various colors and textures of the fuzzy material used for many fly bodies. Natural materials like feathers and fur typically offer more realistic movement in water than synthetics, though modern synthetic materials can be more durable and easier for beginners to work with. Remember that quality matters – poorly prepared materials will make learning more difficult, but you don’t need premium grades as you develop your skills.
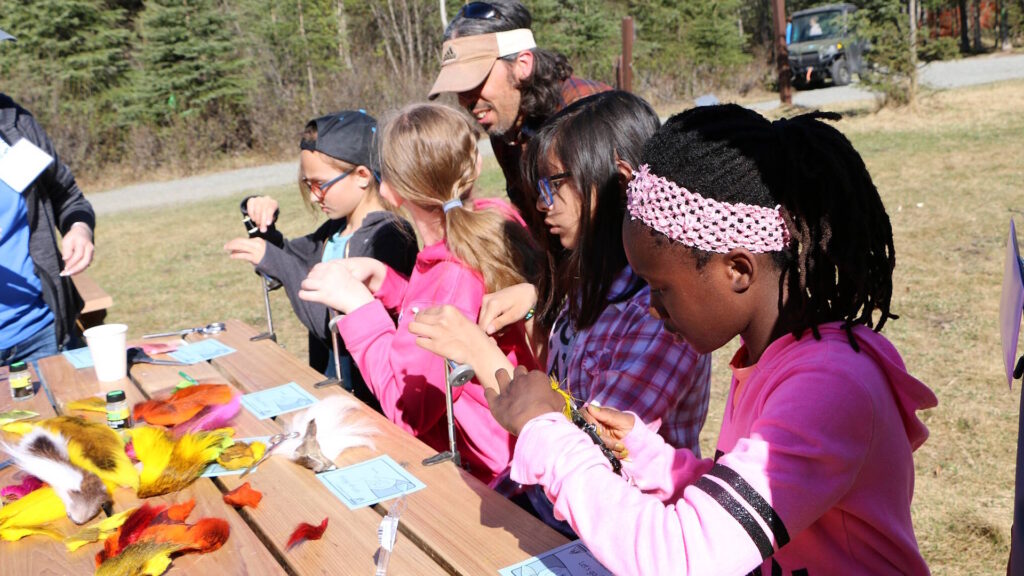
Setting Up Your Tying Station
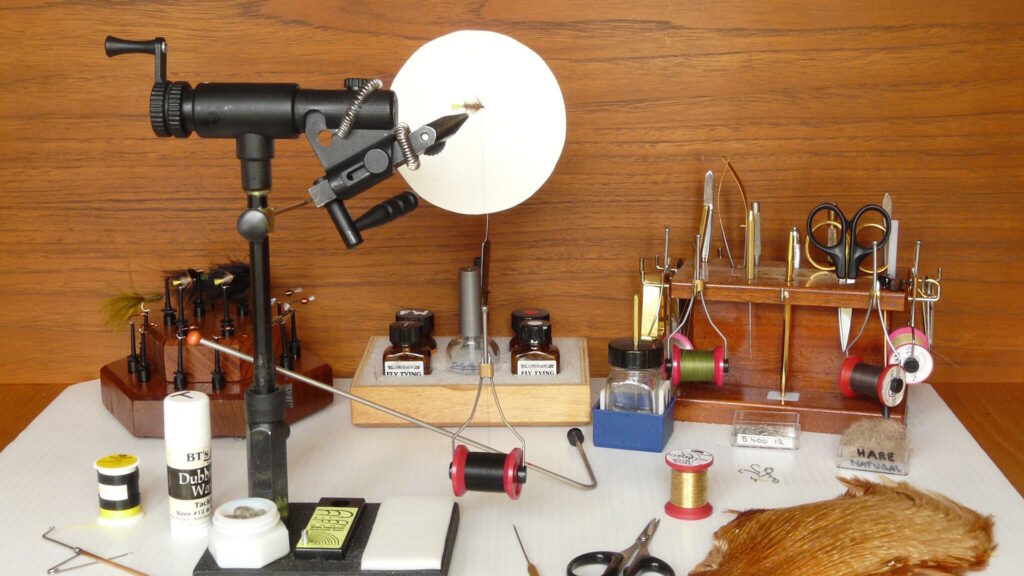
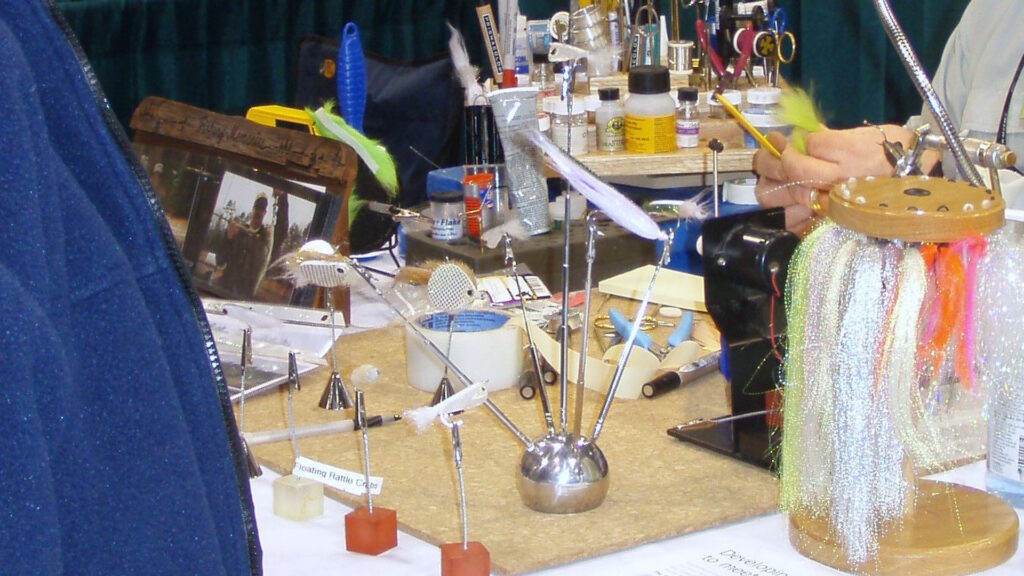
Creating a dedicated space for fly tying will significantly enhance your experience and efficiency. Good lighting is absolutely essential – a desk lamp with an adjustable arm and daylight-spectrum bulb will help you see fine details and true colors. Position your vise at a comfortable height where you can sit with good posture for extended periods without straining your neck or back. Organize your tools within easy reach, perhaps using a desk caddy or magnetic tool holder. For materials, clear plastic containers with dividers work well, allowing you to see what you have while keeping similar items grouped together. A trash receptacle positioned close to your work area will catch clippings and waste materials, keeping your workspace tidy. Many tiers find that a light-colored mat or towel placed under the vise helps both with visibility and cleanup, as small hooks and beads are easier to spot against a contrasting background.
Understanding Hook Anatomy and Selection
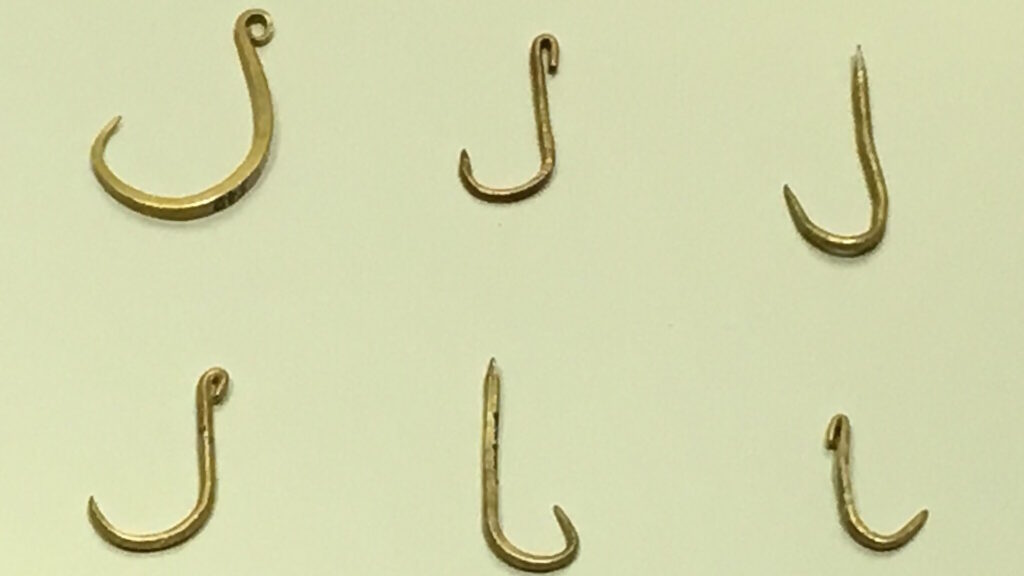
The hook forms the literal foundation of your fly, and understanding its parts helps when following tying instructions. Every hook has an eye (where you attach your tippet), a shank (the straight portion), a bend (the curved section), a point (the sharp end), and a gap (the space between point and shank). For beginners, standard wet fly hooks in sizes 10-14 offer versatility for many patterns. Hooks are categorized by their purpose – dry fly hooks are typically lightweight with fine wire, nymph hooks may be heavier with wider gaps, and streamer hooks are longer to accommodate larger patterns. The hook size numbering system can be confusing at first – larger numbers (like size 20) indicate smaller hooks, while smaller numbers (like size 2) indicate larger hooks. When selecting hooks for your first patterns, match the hook style to the pattern requirements, as using the wrong hook type can affect how the fly rides in the water and ultimately its effectiveness.
Mastering Basic Thread Control
Thread control forms the foundation of all fly tying techniques, making it perhaps the most crucial skill for beginners to develop. Begin by learning to create even, tight wraps around the hook shank, maintaining consistent tension through your bobbin hand. Too much tension can break your thread or bend lighter hooks, while too little results in loose materials and poorly constructed flies. Practice the pinch-and-loop technique, where you pinch the thread between thumb and forefinger before wrapping it around the hook, allowing precise placement and tension control. Learn to create both touching wraps (where each wrap sits directly adjacent to the previous one) and spiral wraps (spaced evenly along the hook shank). Develop the habit of keeping your bobbin pointed toward the hook bend when making wraps, which helps maintain proper tension. Master the half-hitch knot early on, as this temporary knot secures your work when you need to pause or adjust materials.
Choosing Your First Pattern
For your inaugural fly tying project, select a pattern that balances simplicity with fishing effectiveness. The Woolly Bugger represents an ideal first pattern – it requires only basic techniques, uses readily available materials, and most importantly, consistently catches fish across various water types. Other beginner-friendly options include the San Juan Worm, which requires little more than wrapping thread and chenille, or the Zebra Midge, which introduces the concept of creating a simple segmented body. The Gold-Ribbed Hare’s Ear offers another excellent starting point, teaching fundamental dubbing techniques while creating a highly effective nymph pattern. Whichever pattern you choose, select one that uses techniques transferable to other flies, rather than something with highly specialized methods. Consider local fishing conditions when selecting your first pattern – there’s additional motivation in tying something you can use on your home waters right away.
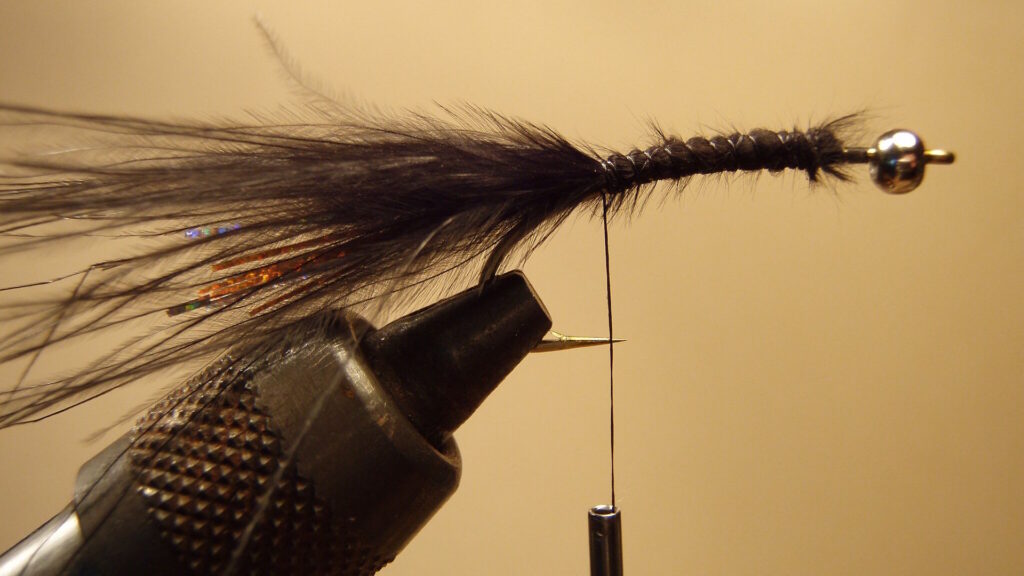
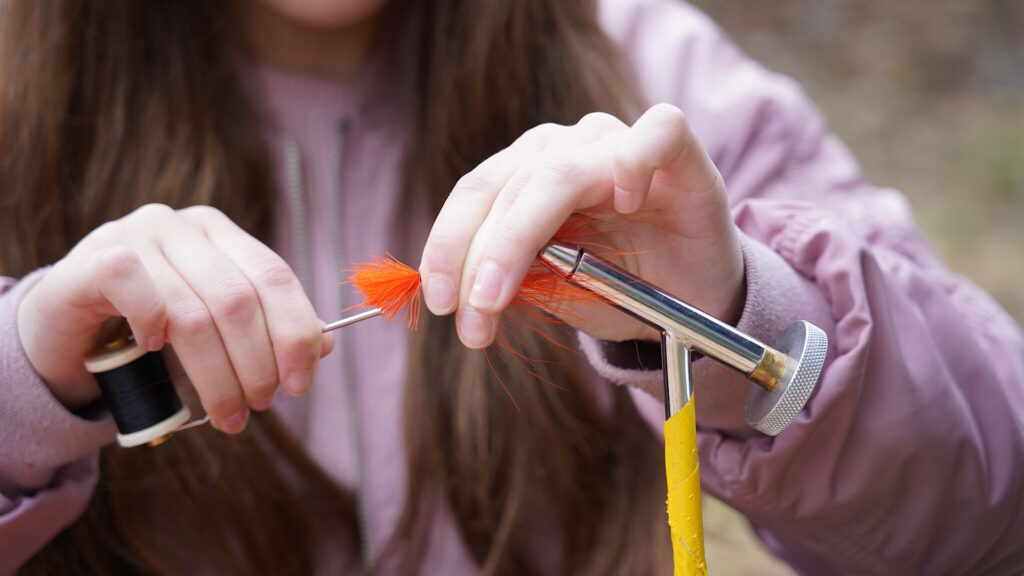
Step-by-Step: Tying a Simple Woolly Bugger
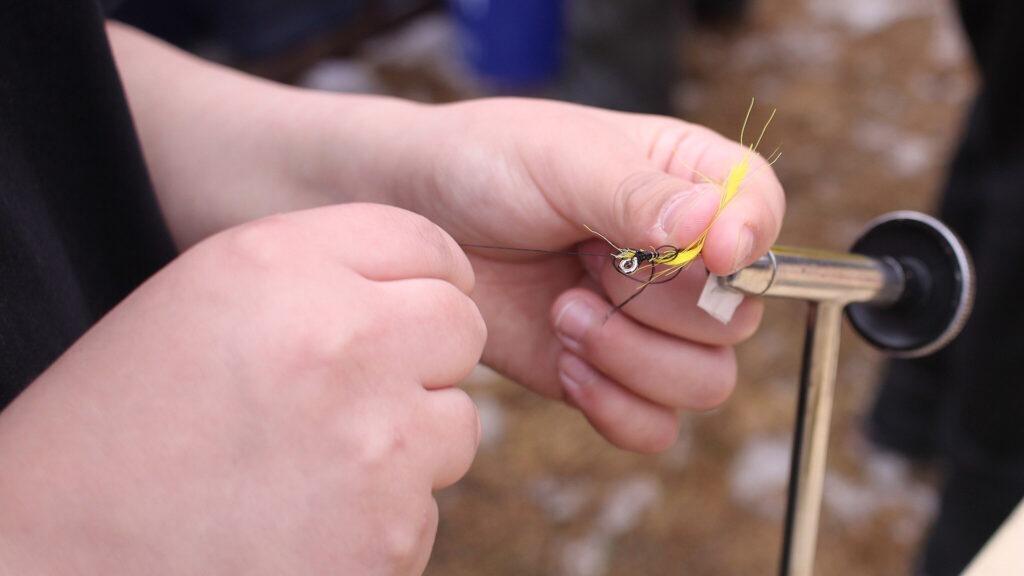
Begin your Woolly Bugger by securing a size 10 hook in your vise, ensuring it’s firmly held but not over-tightened. Attach your thread (black 6/0 works well) about one eye-length behind the hook eye, creating a solid thread base by wrapping backward to the hook bend and then forward again to your starting point. Select a marabou feather for the tail, stripping the fuzzy fibers from the lower portion of the stem, then tie in the prepared stem at the bend of the hook with several firm wraps, ensuring the tail length extends about a hook length behind the bend. Secure a piece of fine gold or copper wire along the hook shank for ribbing, followed by a strand of chenille (black, olive, or brown are traditional colors) tied in by one end at the same point. Wrap the chenille forward in touching turns to create the body, stopping just behind the hook eye, then secure with several thread wraps. Counter-wrap the wire ribbing forward in evenly spaced spirals through the chenille, secure it behind the eye, and break or cut off the excess. Finally, tie in a hackle feather by its stem, wrap it forward in spiral turns to create legs, secure behind the eye, trim excess, and create a neat head with thread before whip finishing and applying head cement.
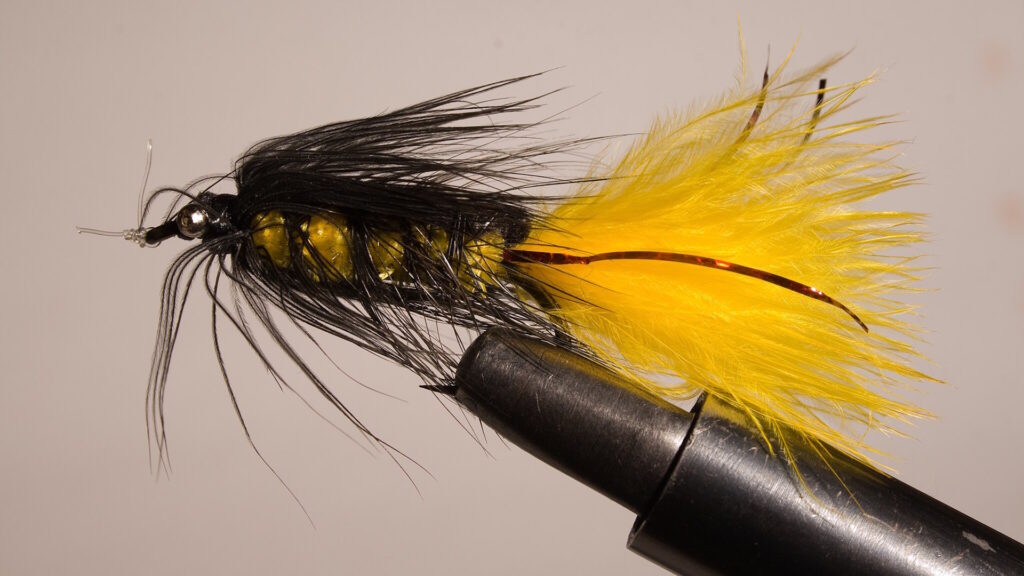
Understanding Proportions and Balance
Creating flies with proper proportions contributes significantly to both their aesthetic appeal and fishing effectiveness. For most traditional patterns, the tail should measure approximately the length of the hook shank, though this varies by pattern type – streamers often feature longer tails for added movement. Body materials typically cover about 2/3 to 3/4 of the hook shank, leaving room for the head and other features. When adding hackle (feather wrapped around the hook to create legs or wings), the fiber length should generally match the hook gap, though dry flies often use longer hackle to improve floatation. Balance also refers to the distribution of materials around the hook – asymmetrical placement can cause flies to swim unnaturally or spin during casting. As you tie your first flies, focus on creating consistent proportions even if the flies aren’t perfect in other ways. Take photos of your flies alongside pattern examples from books or websites, allowing you to compare and adjust your technique as you progress.
Common Beginner Mistakes to Avoid
Several pitfalls commonly trap new fly tiers, but awareness can help you avoid them. Overcrowding the hook eye ranks among the most frequent errors – always leave adequate space for your final wraps and knot, ensuring enough room remains to thread your tippet through the eye when fishing. Using too much material creates bulky, disproportionate flies that move unnaturally in water; remember that in fly tying, less is often more. Inconsistent thread tension leads to materials that slip or rotate around the hook, so develop the habit of maintaining steady pressure. Many beginners struggle with creating neat heads on their flies – practice building a smooth, tapered thread head by making multiple wraps that gradually decrease in diameter toward the eye. Inadequate material preparation, particularly not removing the fuzzy parts of feather stems before tying them in, creates bulky, asymmetrical flies. Finally, skipping the head cement application leaves your flies vulnerable to unraveling, potentially wasting your efforts when the fly comes apart after catching your first fish.
Troubleshooting Common Issues
Even with careful attention, you’ll inevitably encounter challenges during your early tying sessions. When thread breaks – a common frustration – check your bobbin for rough spots, reduce tension, and consider using stronger thread until your technique improves. If materials spin around the hook instead of staying positioned, the solution usually involves using more secure wraps and proper technique rather than simply applying more thread tension. When hackle feathers unravel or break while wrapping, try preparing them more thoroughly by stripping the fuzzy base completely and using hackle pliers to reduce handling. Dubbing that refuses to stick to your thread typically indicates either waxing issues (try adding more dubbing wax) or improper technique (practice twisting the dubbing in one direction only). For flies that appear disproportionate or unlike pattern photos, take a systematic approach – analyze each component separately, comparing to reference images to identify specific areas for improvement. Remember that each problem solved improves your skill set for future tying sessions.
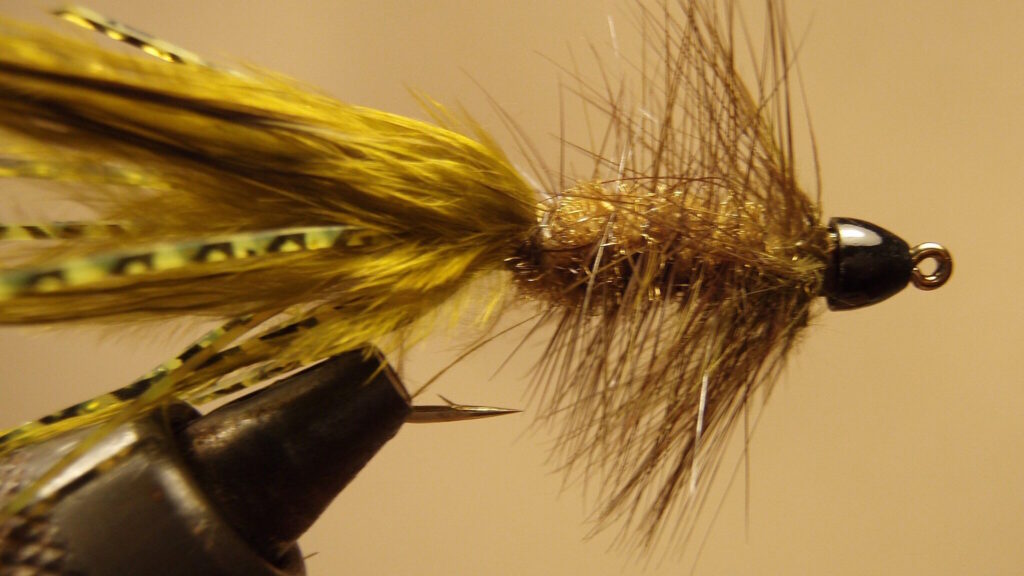
Building on Your First Success
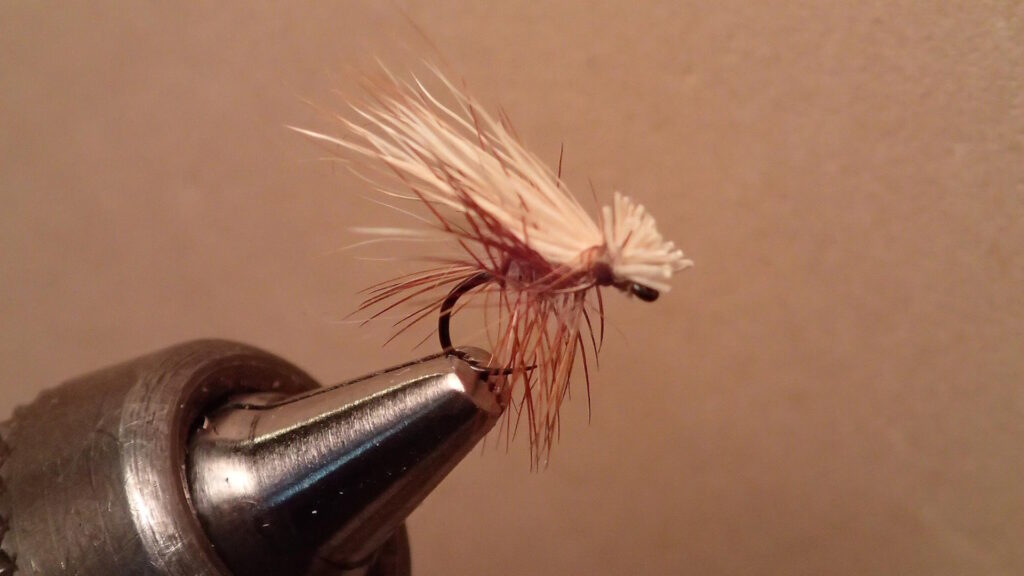
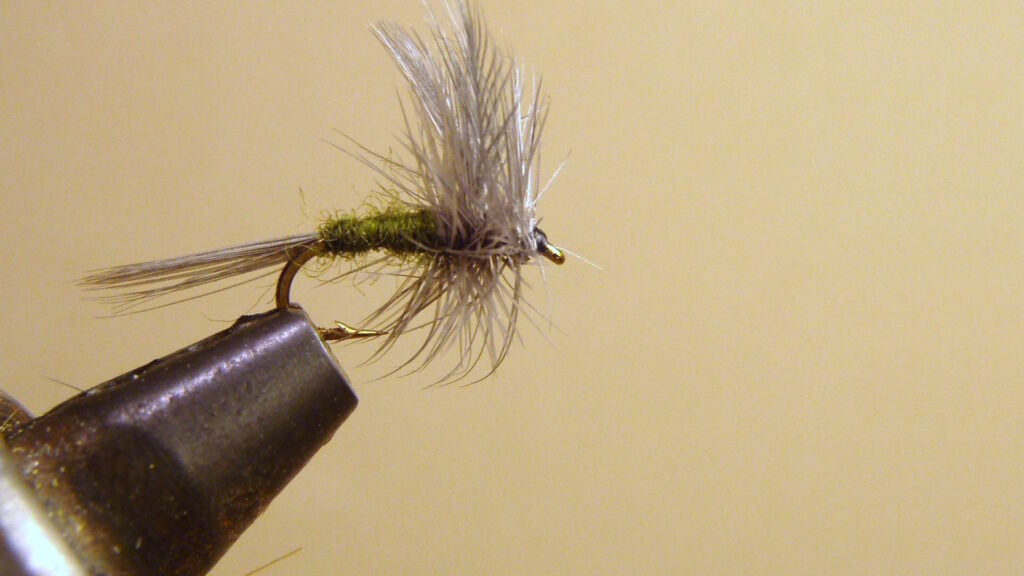
After completing your first successful fly, capitalize on that achievement by tying several more of the same pattern. This repetition builds muscle memory and allows you to refine techniques without introducing new variables. Once comfortable with your first pattern, select a second that introduces one or two new techniques while reinforcing those you’ve already learned. Many tiers find a logical progression from Woolly Buggers to Hare’s Ear Nymphs (introducing dubbing techniques), then perhaps to Elk Hair Caddis (adding wing-setting skills). Consider maintaining a tying journal with notes about each pattern, materials used, and lessons learned, perhaps including photographs of your flies to track improvement. Join online forums or local fly tying groups where beginners can share experiences and receive guidance from more experienced tiers. Most importantly, fish with your creations – there’s no better feedback than seeing how your flies perform in water and nothing more rewarding than catching a fish on a fly you’ve tied yourself.
Resources for Continuing Education
As your skills and interest grow, numerous resources can support your development as a fly tier. YouTube offers thousands of free instructional videos ranging from basic to advanced techniques, with channels like Tightline Productions and Tim Flagler’s Patterner series providing exceptional clarity. Books remain valuable references, with Charlie Craven’s “Basic Fly Tying” and Dave Hughes’ “Essential Trout Flies” standing as excellent additions to any tier’s library. Consider attending fly tying demonstrations at local fly shops, where you can observe techniques in person and ask questions specific to your challenges. Many fly fishing clubs host regular tying sessions where beginners can learn alongside experienced tiers in a supportive environment. Online forums like the Fly Tying Forum provide communities where you can post photos of your flies for constructive feedback and troubleshooting advice. As your confidence grows, specialty workshops focusing on specific types of flies or advanced techniques can help refine your skills and expand your repertoire beyond the basics.
Conclusion
The journey into fly tying begins with a single thread wrap but can develop into a lifelong pursuit of creativity and craftsmanship. Your first fly might not win any beauty contests, but each subsequent pattern will show improvement as your hands develop the muscle memory and your eyes train to spot proper proportions. Remember that even master tiers began exactly where you are now – holding a bobbin somewhat awkwardly and wondering if their creations would ever resemble the pattern photos. Be patient with yourself, celebrate small victories, and focus on functionality before perfect aesthetics. The ultimate test comes not at the vise but on the water, where even imperfect flies can entice strikes from hungry fish. Perhaps the greatest reward in fly tying comes from that magical moment when a fish rises to or strikes a fly that began as nothing more than thread and feathers in your own hands – a connection to the sport that simply cannot be purchased from a fly shop bin.


Post Comment